If you are a regular camper and love RV-ing, the only thing you probably miss is the convenience of electricity supply at home. No more plugging into an outlet and turning on the appliance.
A generator can be an option but the noise and cost are not easy to deal with. Have you thought of an inverter? Learning how to install a power inverter in a camper will give you easy access to electricity whenever you want.
Different sizes of RV inverters are available in the market. Small ones are good for charging cell phones and radios, while some large inverters are capable of powering up appliances like microwaves, dishwashers, and TVs. Whether you are thinking about a big or small RV inverter installation, this DIY guide will help.
Contents
Basic Things to Know Before the Installation
The installation process varies depending on the inverter’s size. A smaller one does not need any wiring, unlike a large unit. The most complicated process is probably the transmission of the inverter’s AC to an outlet.
The best way to manage this is to wire inverter output to a separate power panel, so it can supply power to the existing outlets.
You will need these tools for an inverter installation:
- A suitable inverter
- Electric wires
- Wire cutters
- Sockets
- Screwdrivers
- Wrench
- Utility knife
- Electric tape
- Zip ties
How to Install a Power Inverter in a Camper: A DIY Guide
The good news is you don’t need to consult a professional mechanic for installing an inverter. Collect the tools mentioned above and follow these steps to ensure steady electricity supply in your camper.
Determine Where to Set the Power Inverter
First and foremost, choose the right area to install your inverter. Keep in mind that the place should have adequate air circulation to minimize the risk of an accident.
Also, placing the inverter close to its associated battery will minimize voltage loss. Cross out these areas for inverter installation:
- Anywhere near a source of heat
- Any area below foot level
- Areas with high traffic
- A low-lying Below area with constant liquid flow
- Anywhere near a flammable object
If you are replacing an old inverter, place the new one exactly where the old one was.
SEE MORE
- A Systematic Guide to How to Wire a 50 Amp RV Plug
- The Most Common Signs Your RV Has Electrical Problems
Secure the Inverter by Fastening
After choosing the perfect spot, attach the inverter securely to that place. Inverters come with delicate components that may not sustain jerking and thumping to something. So, handle it with care.
Most inverters have pre-drilled holes to provide quick and seamless fastening. These holes are cut for drilling into screws and bolts. If the inverter does not come with any fasteners, grab some from any electrical hardware store.
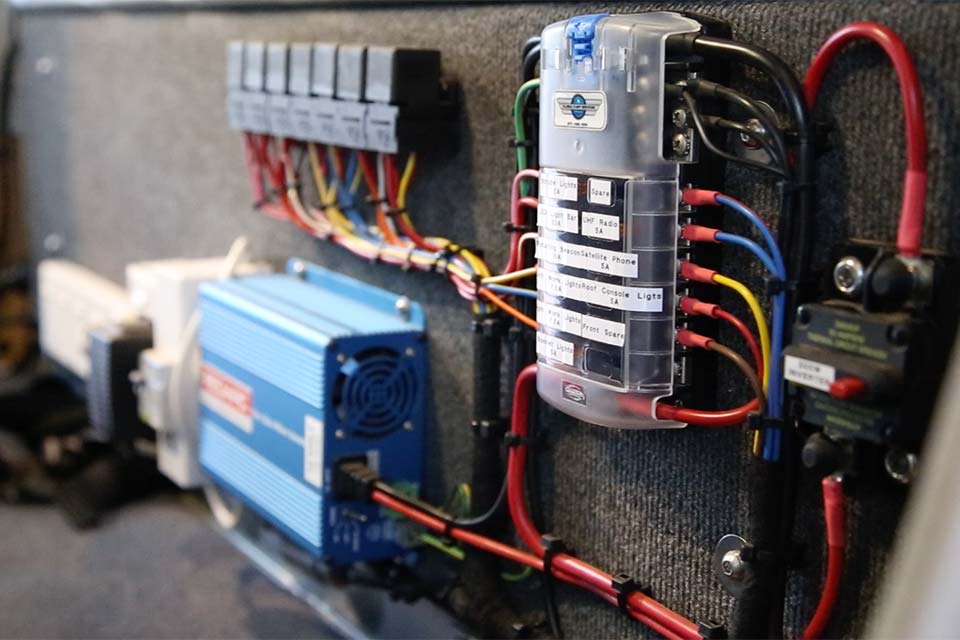
Wire the Inverter
Here comes the most crucial part of how to install a power inverter in a camper, which is the wiring. Wires ensure that your appliances get uninterrupted power from the new inverter through the existing RV outlets. Connect the inverter to the battery, which works as its power source.
Refer to the inverter user manual to get the RV power inverter wiring diagram and correct cable sizes. For a 1000-watt inverter, a 4-gauge electric cable and a 150-amp circuit breaker will work great.
These are the commonly used methods of wiring an inverter:
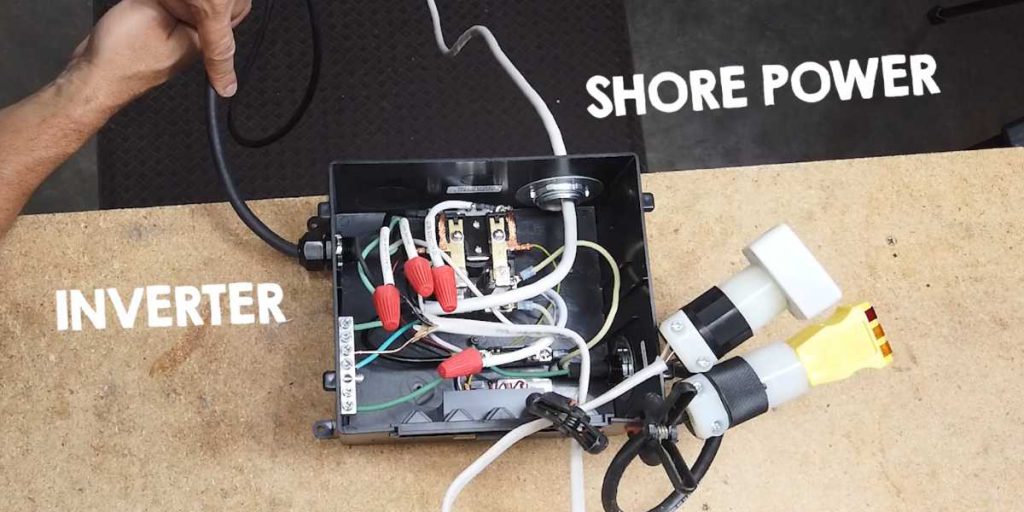
Method 1: Connecting the RV inverter to the AC distribution box with a transfer switch is a costly way to draw electrical power. This switch will draw shore power by default, and when unavailable, switch to the inverter power. If you think this method is somewhat tricky, use a relay or try any of the following techniques.
Method 2: Pull an extension cord to any device from the inverter to supply power. It is not the best idea if you have multiple devices as you have to repeat the process of plugging and unplugging. You might also end up tripping over the cord now and then.
Method 3: The RV may have one or multiple dedicated outlets to derive power from the inverter. Besides installing new outlets, some people detach existing outlets from the distribution box. These dedicated outlets will remain ineffective when you are getting power from the shore generator.
Method 4: The last method includes the installation of a 30-amp socket outside the camper while connecting it to the inverter output. To draw power from the inverter, disconnect the shore power connection and plug your RV to this socket.
Ground the Inverter
Grounding is the final step of installing an inverter in an RV. Connect a 12V ground cable to a bolt of the vehicle’s chassis rail or any other ground connection which is in good condition. The gauze cable has to be the same as the supply cable.
Safety Tips Campers Must Follow During Inverter Installation
While learning how to install a power inverter in a camper, you must follow these safety tips:
- Do not run the inverter and the battery simultaneously. If it ever happens, your battery will get drained soon due to the pushing in and pulling out of the current at the same time. Soon, the inverter will shut off because of a low battery.
- Avoid wiring the power of both the generator and inverter at the same time to the RV outlets for power delivery. This deadly mistake may prove costly, as it can trigger a fire breakout. It is better to use an automatic transfer switch to ensure your appliances are getting power from only one of these sources at a time.
- Never let your battery charger/converter receive power from the inverter. Use a relay or a split distribution panel to avoid this from happening.
The Final Words
Learning how to install a power inverter in a camper could be handy in places where a mechanic is not available or expensive. With the help of this guide, you can surely pull off this installation process without an error.
Always keep the inverter user manual at hand, so it can assist you during any unprecedented situation. Finally, you should strictly follow the security guidelines as this installation work involves dealing with electricity.