The wave of the minimalist movement has hit the RVers too. As a result, the popularity of teardrop trailers is on the rise. It allows people with a small budget to experience the joy of camping. People who prioritize camping experience rather than homely convenience find teardrop trailers extremely useful. If your budget is tight, learning how to build a teardrop trailer will prevent ending up with a hole in your pocket.
Contents
What Is a Teardrop Trailer?
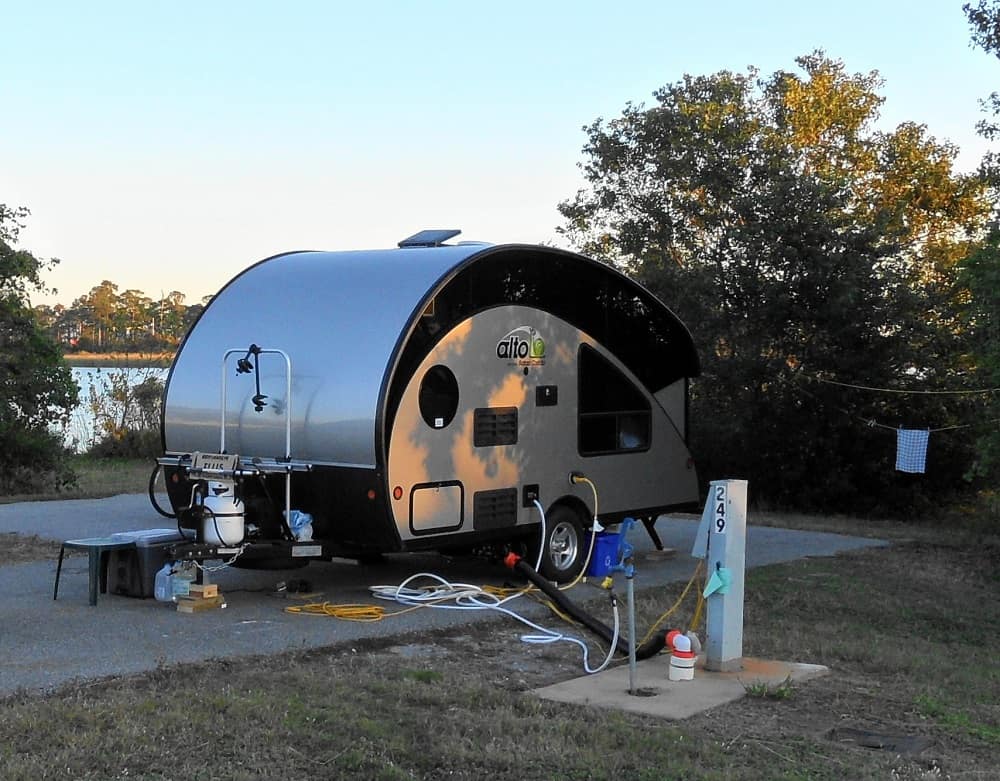
It is the smallest type of recreational vehicle. These trailers are compact and lightweight. This type of motorhome comes in a specific size that makes them easily recognizable. Also, an average teardrop trailer usually weighs less than 1000 pounds.
The most common type of teardrop trailer comes with sleeping space for two persons and a kitchen at the back of the vehicle, which are enough for a minimal lifestyle. However, if someone wants, they can get a customized floor plan consisting of a bed, kitchen, diner, and bathroom.
Benefits of Using a Teardrop Trailer
Before knowing how to build a teardrop trailer, learn about its benefits to figure out if it would be the right choice for you. Despite featuring limited facilities, you can enjoy so many things by owning and using a teardrop trailer.
The first plus point of teardrop trailers is affordability. Since they come in small sizes, they don’t cost as much as other RV types. Therefore, people with a small budget can afford it.
This type of trailer is also available in various sizes. One can choose according to their camping needs. Apart from living there, it can be used as a base camp for hikers, bikers, climbers, and even for surfers.
Being lightweight is another sought-after quality of this trailer. As a result, any vehicle can tow this trailer without any difficulty.
How to Build a Teardrop Trailer
Go through this step-by-step guide for DIY instructions about how to build a teardrop camper:
Choose the Trailer Frame
The first thing you need for building a trailer is its frame. Both 4 x 8 and 4 x 10 feet trailers are good choices, but the latter one offers additional space for a storage compartment in the front. While buying the trailer frame, make sure that it has all the necessary assembling tools.
Deck the Trailer
Before decking the trailer, use Rust-Oleum to paint the frame. After that, drill holes in the frame where necessary.
Then, prepare the deck base for installation by placing plywood on the motorhome frame. Fit it properly with construction adhesive and “C” clamps. Place foam in the void to insulate the floor.
Design and Frame the Walls
Get plywood as per the measurement of the teardrop trailer to build the sidewalls. Also, design the kitchen hatch and forward wall, so they fit the side walls accurately. Make sure to cut openings for windows to have natural airflow inside the motorhome.
After designing, make cuts on inner walls to square them up. Also, cut the passenger wall and the driver’s sidewall. Measure the trailer floor accordingly to anchor the external walls. Then, secure the board on the trailer deck.
The last step is placing the outer RV walls on the shelf using adhesive. It will ensure that the walls and stud works are ready for the permanent installation.
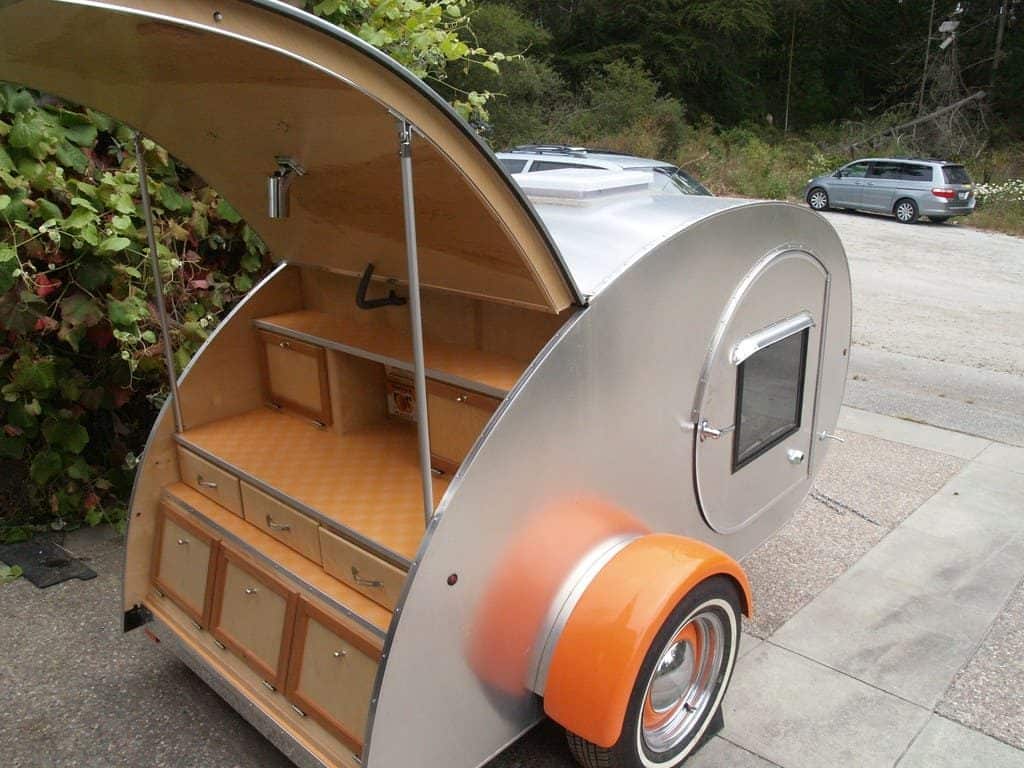
Build the Hatch Area Frame
Cut boards to create the shelf frame. Place the stovetop and sink at suitable places. It is better to pre-order these components, so you can design the hatch area according to their size.
Design the Hatch Gussets
Gussets are framing boards that hold the spars and outer skin of the hatch. Measure the gussets and cut one as per the size. Then repeat the process to produce multiple gussets and join them together with glue.
Frame the Hatch Door
Now, Evenly sand the gussets to make sure the outer skin is free of any uneven bumps. Measure the spars and mark the right places to place them. Cut the openings of the gussets and put the spars.
Finally, frame the hatch door. Afterward, install the outer skin of the hatch door by adding layers and seal it.
Install the Roof
Now, install the roof spar and roof insulation one by one. Then, apply construction adhesives to the spars to put the first layer of the skin. After applying five layers of skin, lay a metal outer skin that securely fits the size.
Learning the wiring method is crucial to how to build a teardrop trailer. Purchase the navigation lights and materials for covering the wire. Fit the lights in the appropriate places and connect the wiring.
Since this part is a little complicated, many campers may find it quite tricky. In that case, take professional help without thinking twice.
Wire the Living Space
Now is the time to wire the trailer to ensure safe electricity supply. The usual type of wiring is 12V, but you may prefer to add another 110V line to get power from solar or shore power.
The equipment set for wiring usually includes a rechargeable battery, charge converter, fuse block, distribution box, breaker switches, plug sockets, etc.
Seal and Complete the Woodwork
The last step of this DIY project is to seal the woodwork. Apply 3 to 4 coatings of polyurethane (PU) to the exterior and have at least 24 hours of gap between the coatings. Some people may also choose to varnish the wood, but that process should take place before applying the PU coatings.
Cost of Purchasing a Teardrop Trailer
This compact RV is also the most affordable one. Some models are even available under $20,000, while some may cost more than $40,000. However, prices may vary depending on the upgrades you choose, which include pre-installed solar-panels and off-road tires.
There is also the option to get a second-hand teardrop trailer.
Above all, the cost of building a DIY teadrop trailer is much lower in comparison with the option of buying a new or used one which make it worth the effort for those who love DIY projects.
Wrapping Up
Many camping enthusiasts want to create their trailers but do not know how to build a teardrop trailer. They can follow this step-by-step guide and build a teardrop trailer successfully. If you want to build your own teardrop trailer but are unsure about any step, do not hesitate to take help from professionals.